Workato
Workato is an automation platform that integrates with many services.
You can interact with Amberflo from Workato by using our custom adapter (currently experimental) or Workato's generic HTTP connector and Webhook trigger.
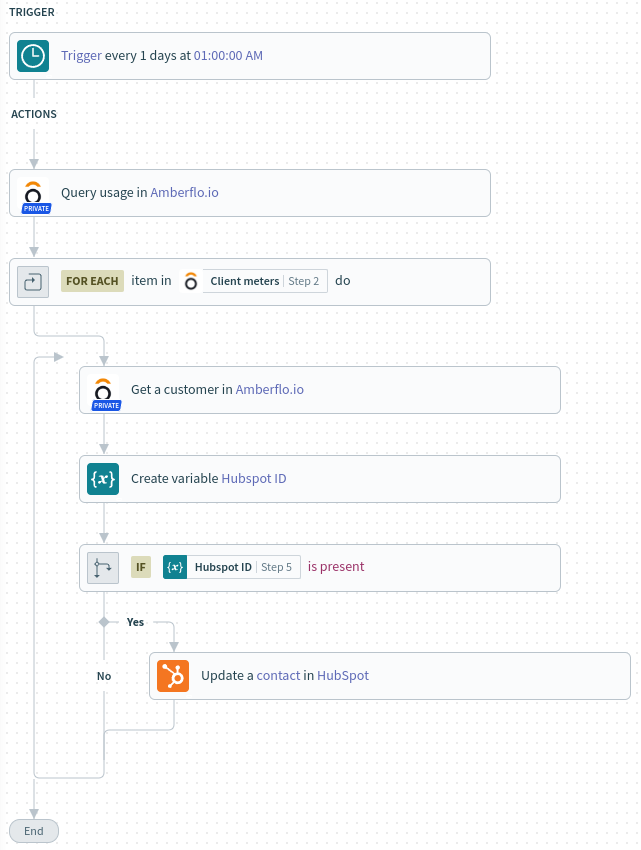
These are some sample recipes built with the Amberflo.io custom adapter.
Below we detail examples using both the adapter and generic HTTP connector methods.
You can use this to automate your customer invoice handling workflow (for example to NetSuite).
In this guide, we'll show you how to create a Workato recipe that is triggered when an invoice is ready, parse the data, and sends the invoice data to a destination (message to Slack in this simplified example)
Here is how it looks:
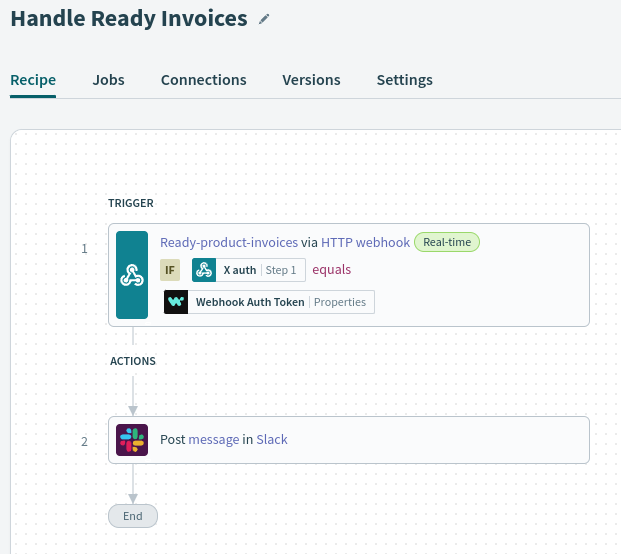
And the message in Slack:

In Workato, create a new project or select an existing one.
Then, create a new recipe, selecting Trigger from a webhook option.
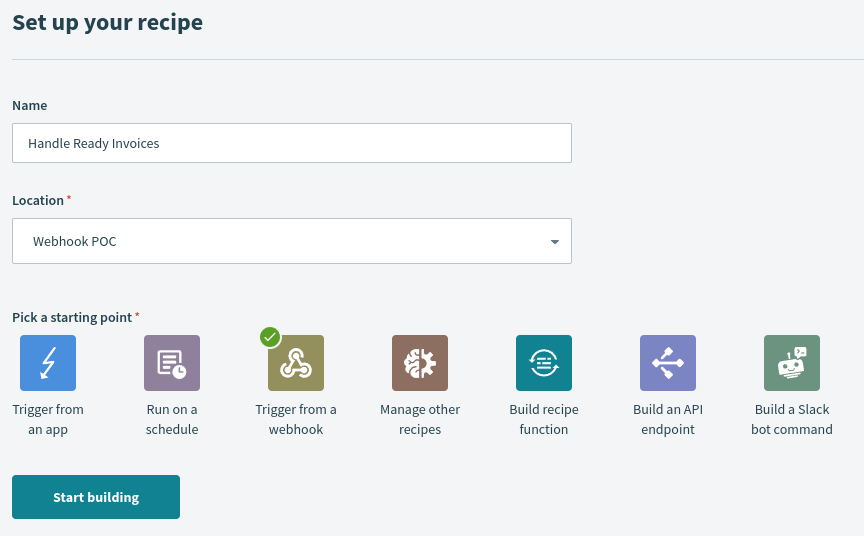
After you create the recipe, you'll be prompted to configure the webhook trigger. Select the setup manually option.
Fill in the event name (any value will do, for instance ready-product-invoices) and take note of the Workato webhook address (you'll need it later when configuring the webhook in Amberflo).

Next, on the payload schema field, click on Use JSON.
You can copy the sample payload on the Invoice Ready Webhook page into the black input field.
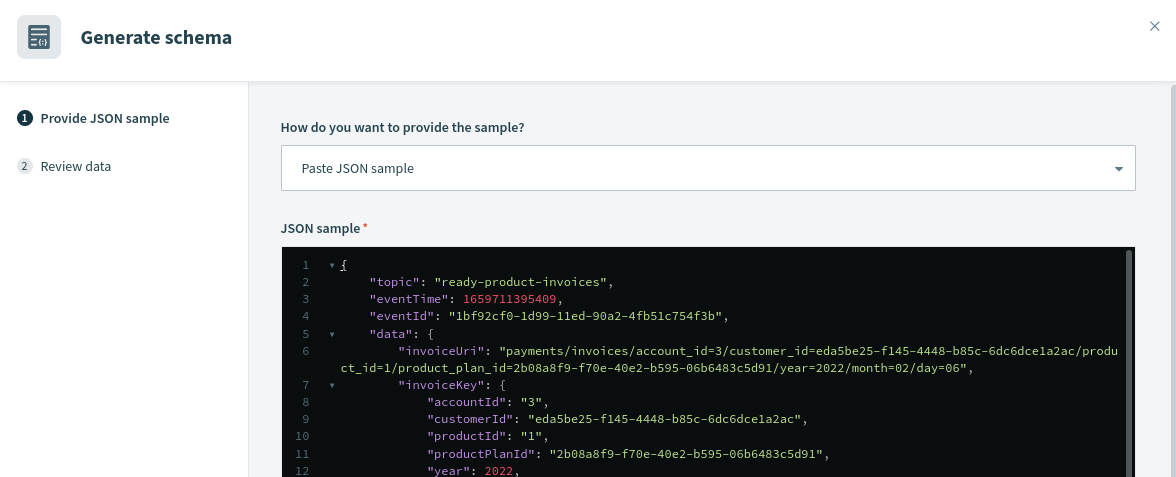
Click next, and then generate schema.
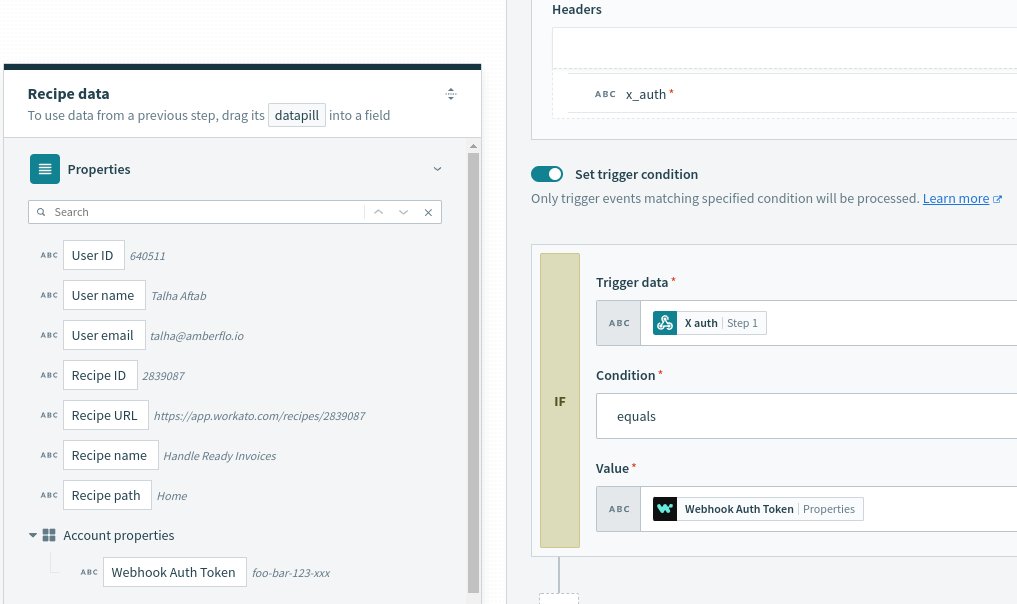
Finally, configure the trigger to only be processed if the webhook is called with a valid authentication header. This is important to protect your workflow from malicious actors.
Make sure to set up the token value as an account property, as recommended by Workato.
We want to send a message to Slack, so first we need to set up a Slack connection. Do this in Workato by navigating to your project and selecting Create > Connection.
Now, go back to editing the recipe, and click the + sign to add an action in an app. Search and select Slack, then select post a message and the connection to use.
Finally, configure the channel where the message will be posted, and add the message body.
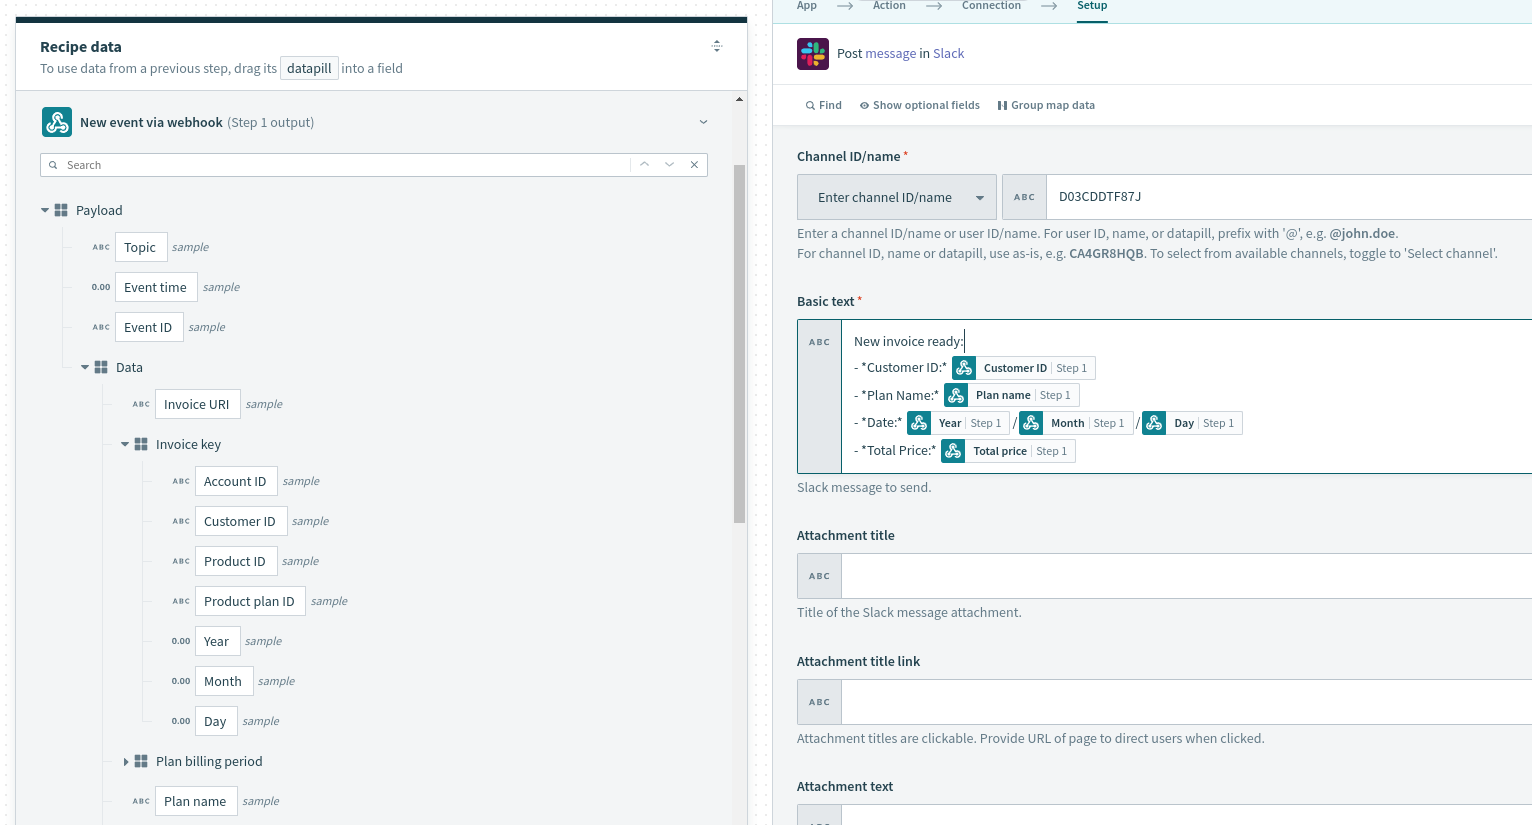
Now save and activate your recipe. The last step is to configure the webhook in Amberflo.
You can follow the Invoice Ready Webhook guide to configure the webhook in Amberflo.
Make sure to use the Workato webhook address as the destinationUrl, and set the topic to ready-product-invoices.
That's it. Now, you'll get a message in Slack whenever there is a new invoice ready to be paid.
Start by installing the adapter. Go to its page and click install connector. This will create a copy of the adapter and take you to the Connector SDK editor, that's it. Keep in mind that whenever there is a new version, you can come back to this page to update your copy of the connector.
Now navigate back to your Workato project and create a new recipe. Choose trigger from an app.
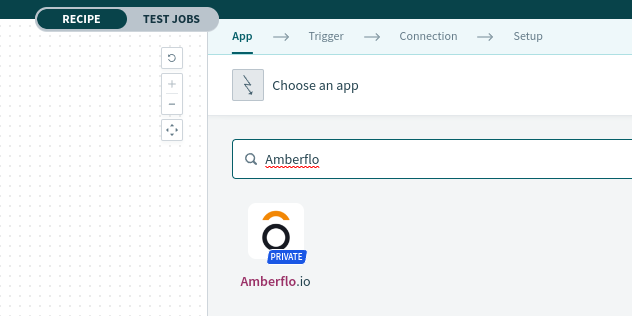
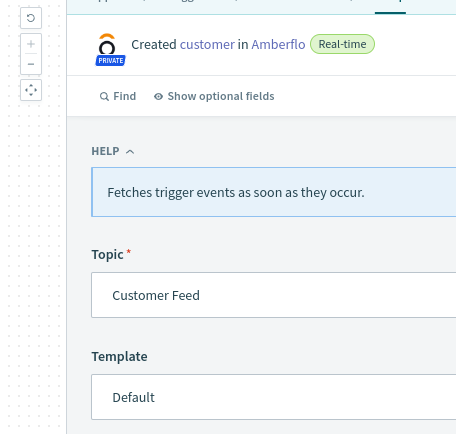
Choose the Amberflo.io app. You'll be then prompted to provide your API key.
The Amberflo adapter providers a webhook trigger so you can get real-time updates. You'll be prompted to select the topic you want to use. Note that there is no need to configure the webhook on the Amberflo side, as the app will do it by itself once you run it. There is also no need to configure a trigger condition, as the app will also handle authentication of the webhook call.
As for actions, we currently have the following built-in actions:
- get customer (by customerId),
- create or update customer
- ingest meter event
- query usage.
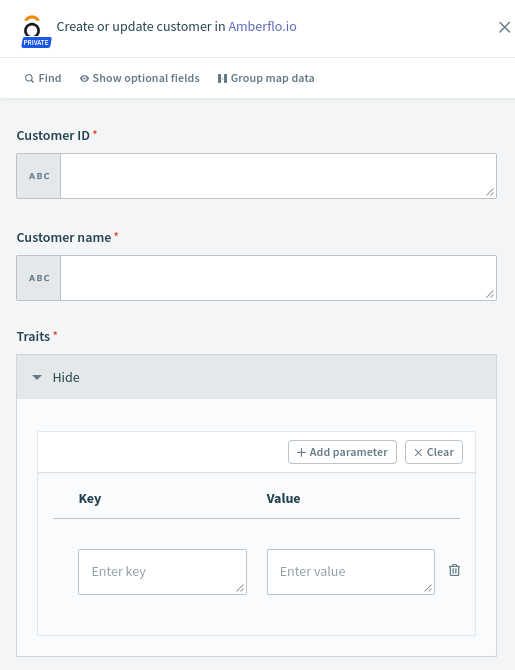
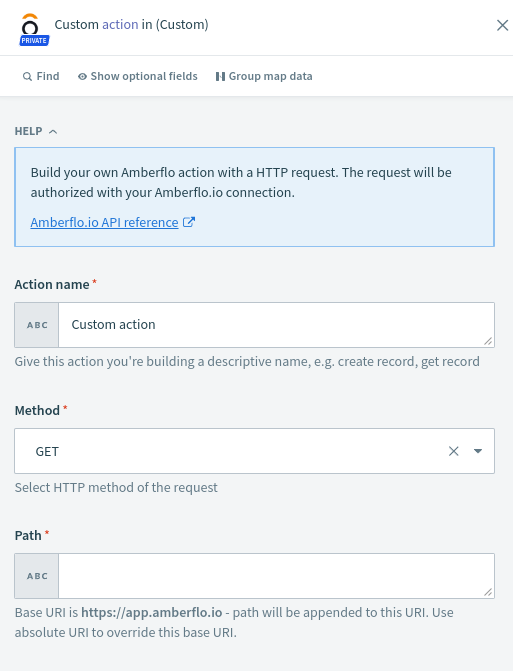
But you can also configure custom actions which will use the Amberflo connector. You can generate the input and output schema for your custom action in Workato by playing with the API calls on our API reference page, and then copying and pasting the request and response JSONs.
